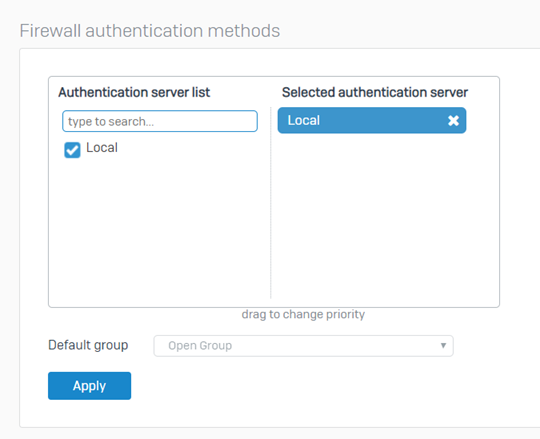
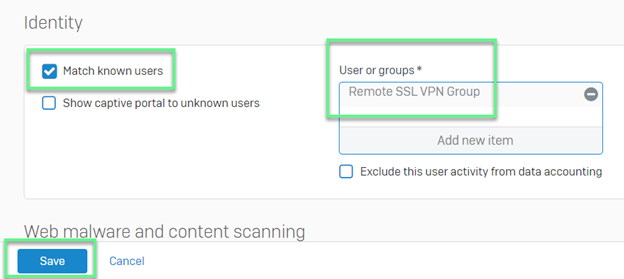
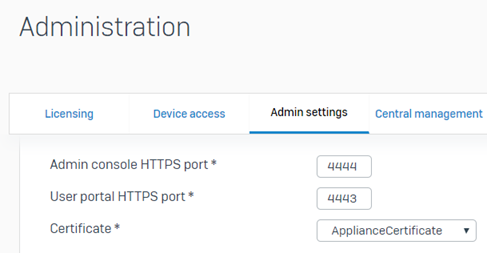
Log on Sophos User Portal: https://ipfirewall:4443
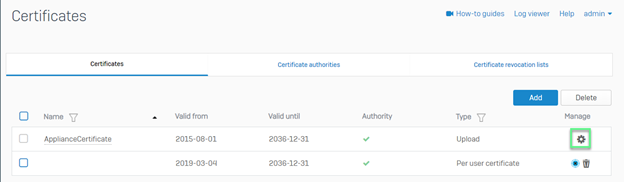
** If you can not download file on User Portal -> Choose Certificates -> Choose Certificates Authorities -> Choose Default to edit Default certificates -> Fill out all information -> Click Save
-> Click Regenerate certificate
Choose Download Client and Configuration for Windows -> Install file which was downloaded -> Double click in SSL VPN icon
-> Connect VPN with username and password of SSL VPN user which was created before
Hi everyone, Today, we will configuration NAT-PAT in cisco packet tracert, Let's start with a simple project. Follow the pictures NOTE : Don't forget to add ip address to the machines Best Regards, Ümit ALBAYRAK
Sophos XG: How to config Source NAT rule (may use IP static or dynamic) April 16, 2019 Vincent Sophos 0 This article demonstrates how to create a Source NAT firewall rule so that outbound traffic from the local will use a different static IP address or you can use MASQUERADE to configure SNAT with dynamic IP address. In order to be flexible, businesses don’t need to buy static IP How to configure Login to Sophos XG Firewall by Admin account Create a LAN layer where you want NAT Network -> Interfaces -> Click Add Interface Choose Add Alias Fill in the information You can NAT 1-1 by select only one LAN IP address or multiple LAN IP addresses by selecting the network layer -> Click Save Select Host and Services -> IP Host -> Click Add to create a WAN IP address that you want to user to put NAT in Firewall Rule -> Click Save Firewall -> Click Add Firewall Rule -> Select Business application rule Ch...
Step 1: Run VMware migration assistant Before beginning the migration, you must run the VMware Migration Assitant on the source vCenter server (I mean the Windows vCenter Server). You can find this tool in the vCSA ISO that you have previously downloaded in <Drive Letter>:\migration-assistant\VMware-Migration-Assistant.exe . This tool starts a web service on the Windows vCenter Server to communicate with the vCSA install program. Step 2: Deploy the vCSA Once you have executed the VMware Migration Assistant on the source, you can mount the vCSA ISO on your favorite Windows computer or server (it must have access to your vSphere infrastructure) and run <DriveLetter>:\vcsa-ui-installer\win32\installer.exe . You can also run the installer from Mac or Linux but I prefer Windows :). In the first window, just click on Migrate . The next screen introduces the migration process. Just click on Next . On the next screen, accept the license agreement ...


Comments
Post a Comment